Silver Ticket In-Wall and In-Ceiling Speaker Installation
Introduction
Use this guide to install your Silver Ticket in-wall or in-ceiling recessed speaker.- Difficulty: Intermediate
- Time Required: 30-45 minutes
- Recommended Labor: 1
Tools
- 1 x Stud Finder (not included)
- 1 x Pencil (not included)
- 1 x Level (not included)
- 1 x Drywall Cutter or Keyhole Saw (not included)
- 1 x Wire Stripper (not included)
- 1 x Phillips Screwdriver (not included)
Parts
- 1 x In-Wall or In-Ceiling Speaker (included)
- 1 x Speaker Cut-Out Template (included)
- 1 x Speaker Grill Removal Tool (included)
Steps
1. Preparation
1. Identify the approximate location for installing the speaker.
2. Locate and mark wall studs on either side of the desired speaker location.
Note: Choose a mounting surface that is between 3/8" and 1 1/4" thick. Measure the open space behind the mounting surface to ensure that it is deep enough for the speaker to fit into.
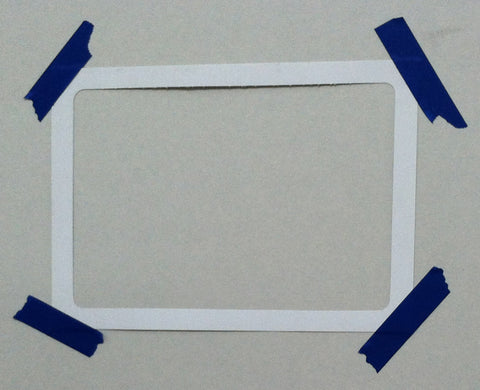
2. Prepare the Cut-out Template
1. Remove the inner cardboard template and keep it for later - this is the paint mask.
2. The outer cardboard template is the cut-out template. This will be used to trace the location of the hole on the mounting template.


3. Trace the Cut-out Template
1. Place the cut-out template between the marked studs in the desired location, then trace it with a pencil.
Tip: Be sure the cut-out template is level. If it is not level, erase then re-draw the cut-out line until it is correct.
2. Once the cut-out line is marked in the desired location, remove the cut-out template.

4. Cut the Mounting Surface
1. Carefully cut out the drywall along the marked cut-out line with a drywall cutter or keyhole saw.
Warning: Be careful when handling drywall not to cause a blow-out.
Note: Cut on the outside edge of the traced lines, this will help ensure that the cut-out hole will not be too small for the speaker.

5. Prepare the Speaker Wiring
1. Route the speaker wire to the cut-out hole from the audio equipment.
2. Separate about 4" (101mm) of speaker wire at each end.
3. Remove about 1/4" (6mm) of insulation from each end of the speaker wire using a wire stripper.
4. Twist the ends of each wire.

6. Prepare the Speaker
1. Remove the speaker grill using the speaker grill removal tool.
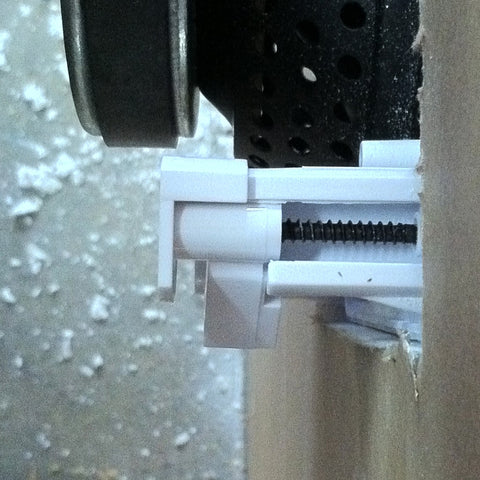
2. Lift and turn all the mounting tabs on the back of the speaker inward.

7. Attach the Wiring
1. Attach the speaker wire to the terminals on the rear of the speaker.
Note: The red (+) terminal on the speaker should connect to the positive (+) channel on the audio equipment. The black (-) terminal should connect to the negative (-) channel on the audio equipment.
2. After inserting the speaker wire. Press the spring tab in to help it clamp tightly onto the speaker wire.

8. Mount the Speaker
1. Place the speaker into the hole.
2. Tighten the screws on the front of the speaker to secure the mounting tabs in place - do not over-tighten.
Note: If the speaker does not initially fit completely flush with the mounting surface, remove the speaker and make any needed adjustments to the cut-out hole using the drywall cutter.

9. Finishing Up
1. Re-attach the speaker grill to the front of the speaker.